 ES
ES FR
FR EN
EN IT
IT DE
DEIdentifying cracked briar root pipe problem


Identifying cracked briar root pipe problem
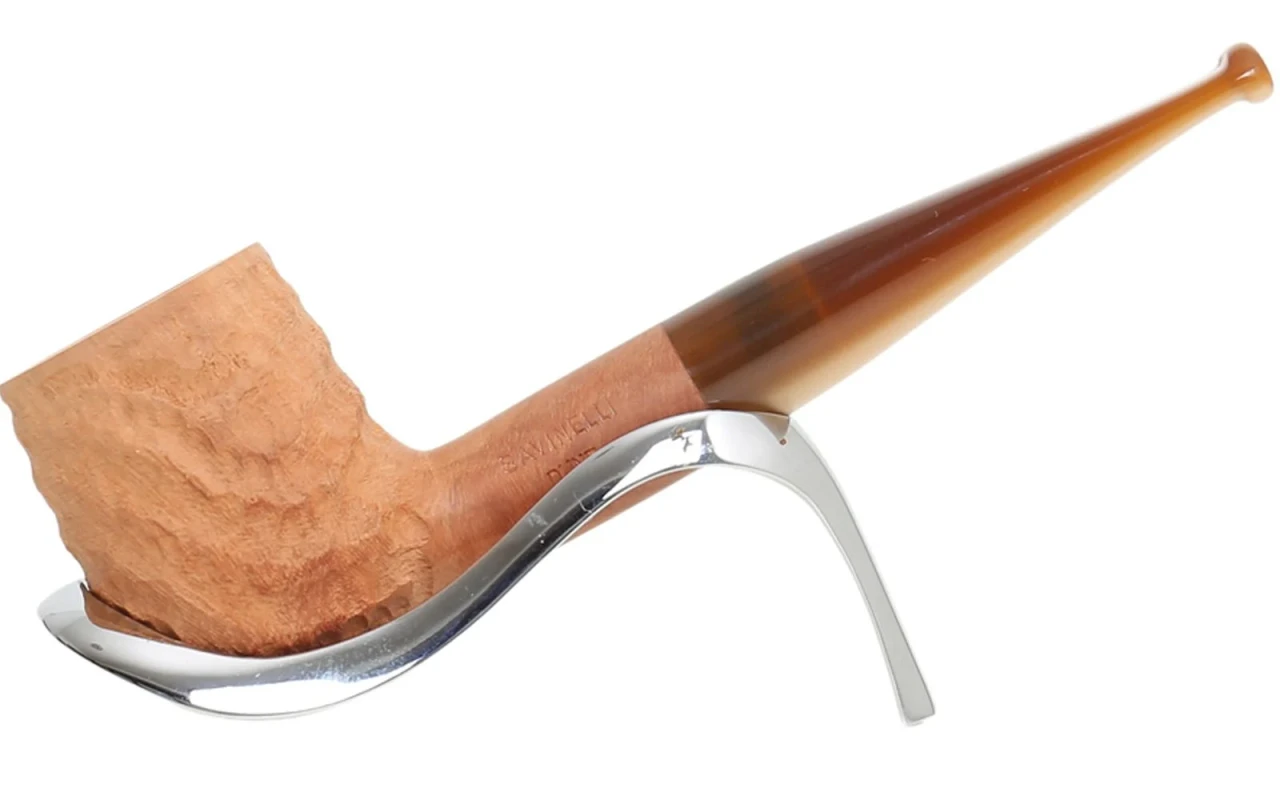
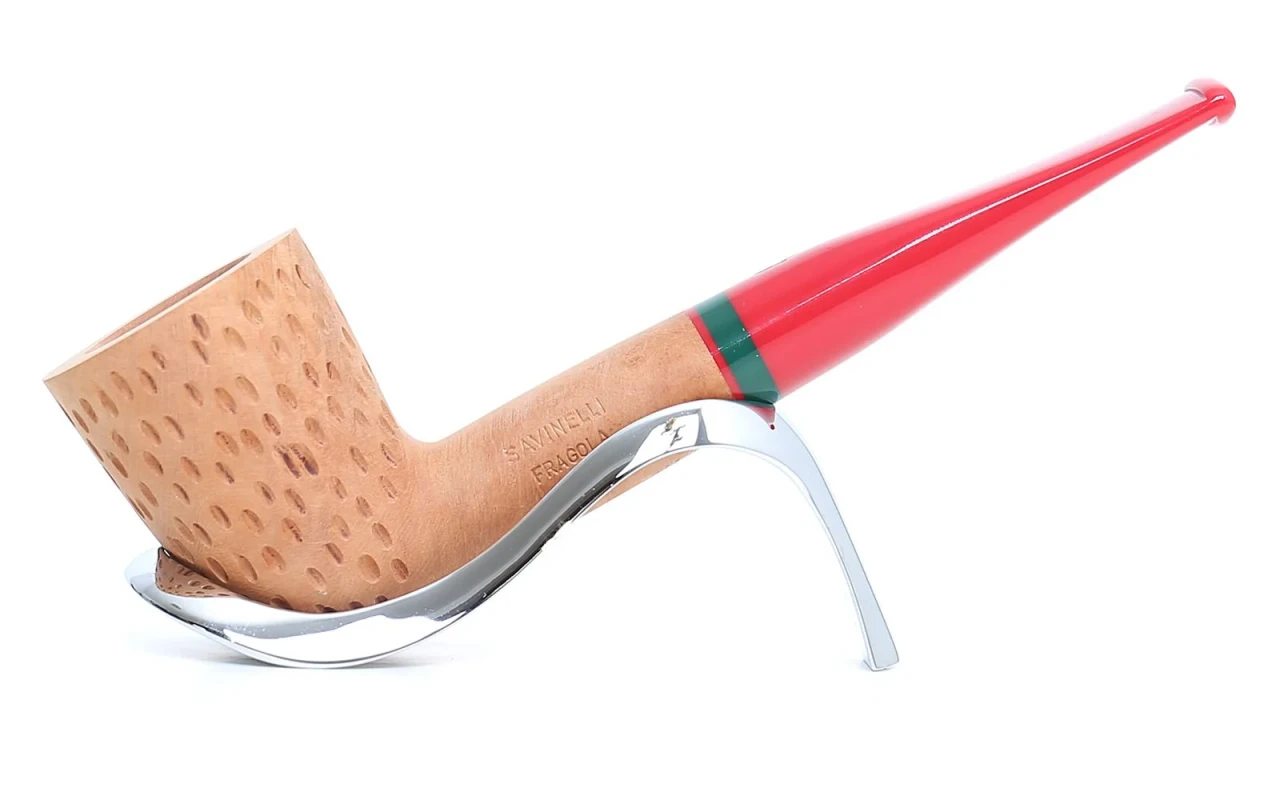
Cracked briar root in a pipe can be caused by various factors, such as excessive wood drying, overheating during smoking, or the quality of the briar root itself. To identify the issue, carefully inspect the surface of the pipe for small cracks or signs of deterioration. Make sure to examine both the interior and exterior of the pipe. If you notice any cracks, it is advisable to discontinue using the pipe to prevent further damage. Additionally, you may consider consulting an expert pipemaker to assess the severity of the problem and determine if the briar root can be repaired or if pipe replacement is necessary.
How to Repair a Briar Pipe
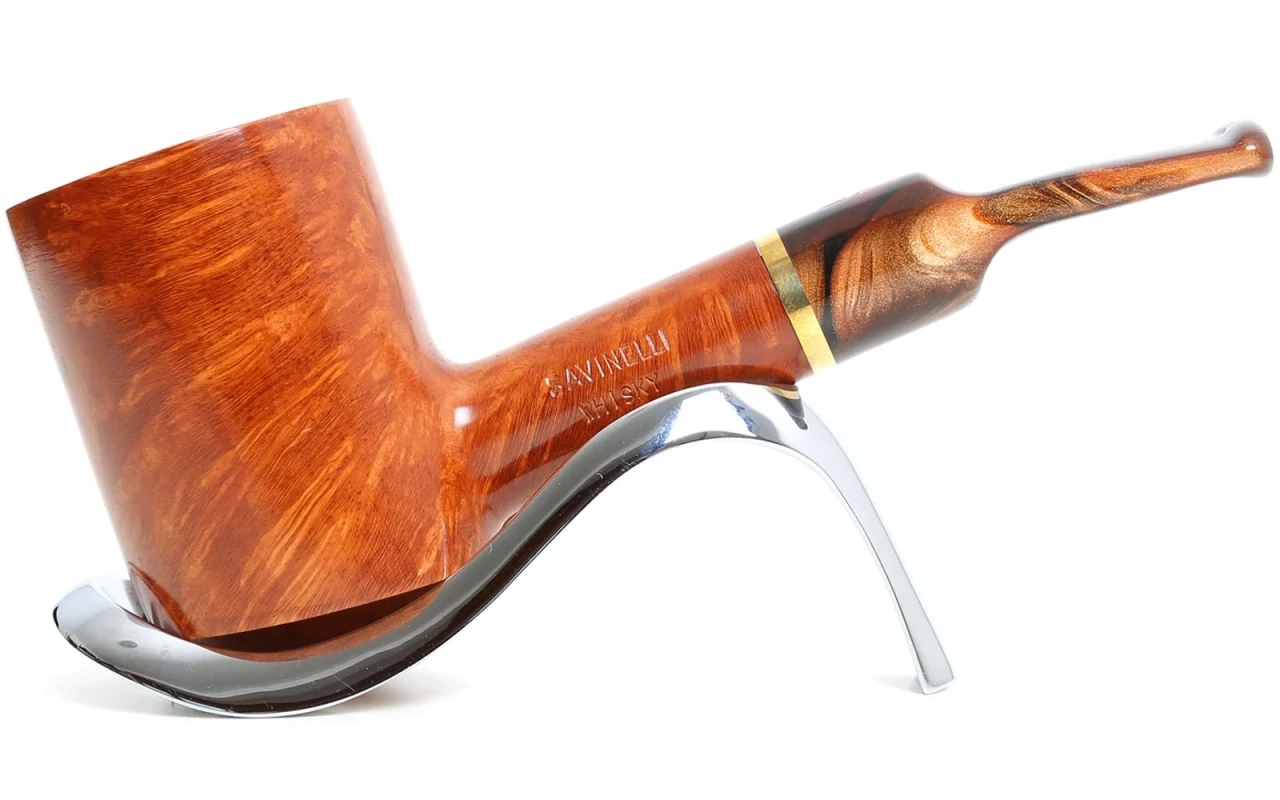
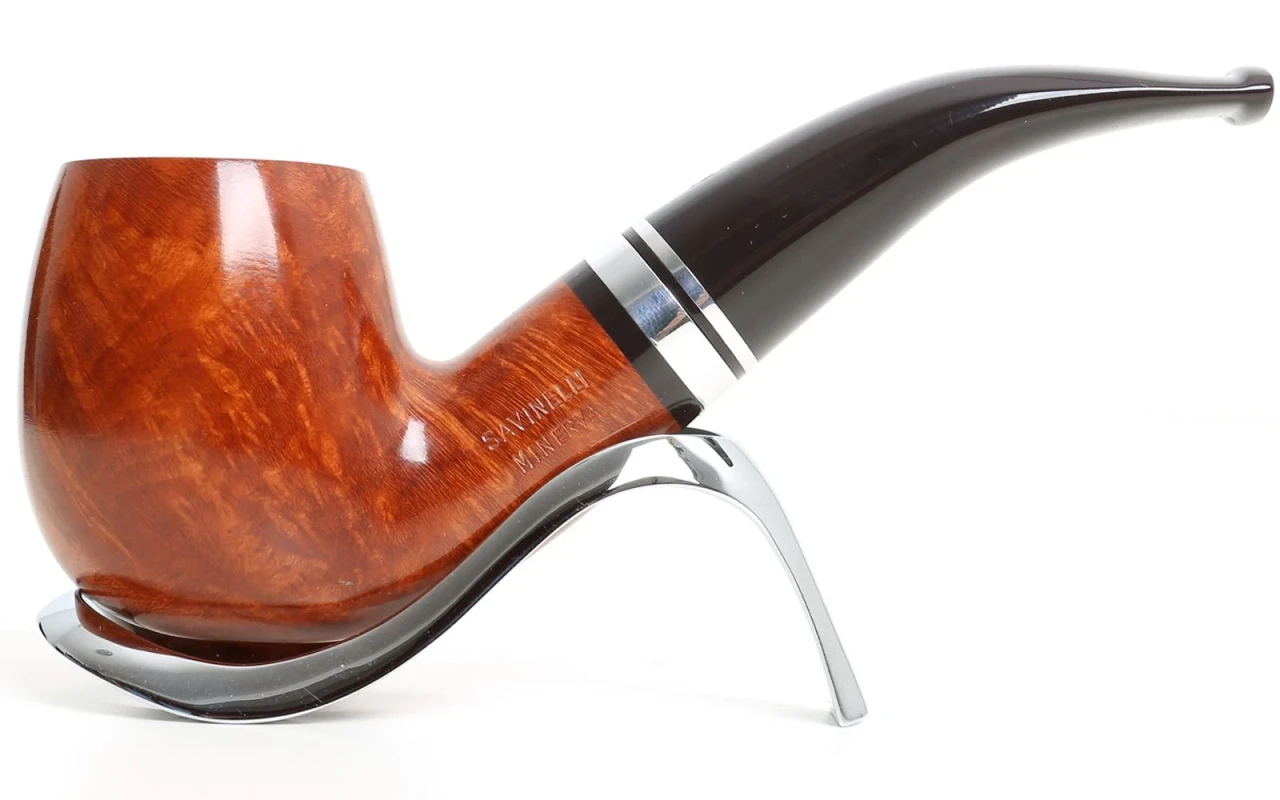
Briar is a high-quality material used for smoking pipes, but it can get damaged over time. To repair a damaged briar pipe, you need to follow a few steps. First of all, clean the damaged area thoroughly. Next, fill any cracks with a suitable briar paste or wood filler. Allow it to dry completely and gently sand the repair with fine sandpaper. Finally, polish the surface with pipe wax to restore its original shine. Remember that in case of severe damage or if you do not feel confident to proceed on your own, it is advisable to seek help from an expert pipe repair specialist.
Best Pipe Repair Materials
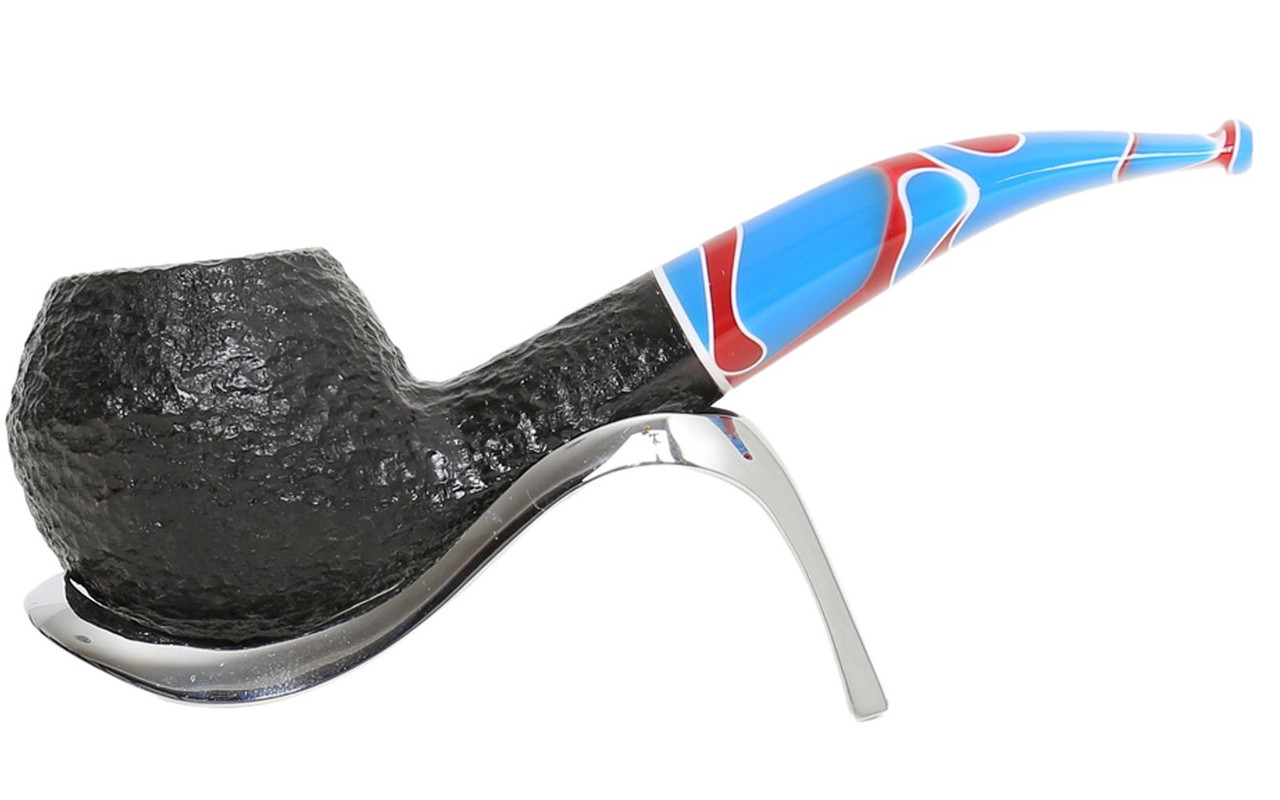
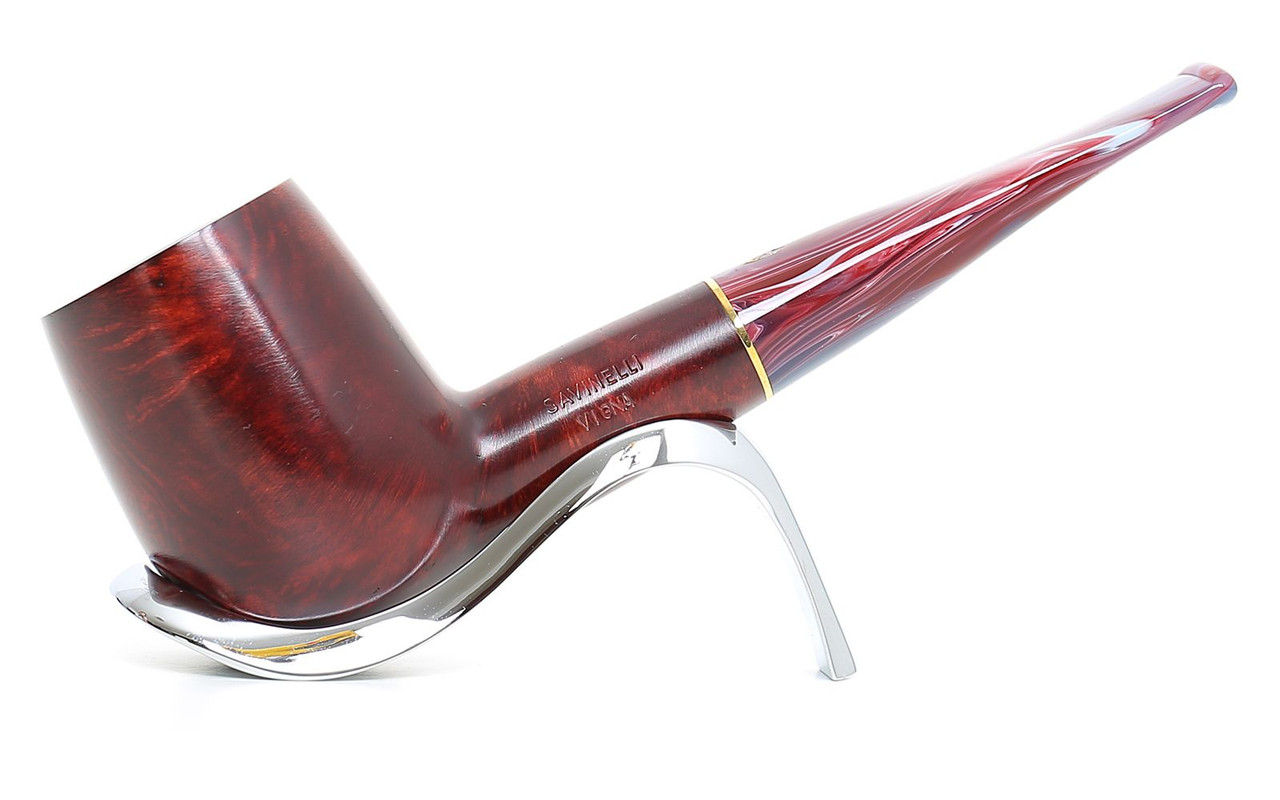
The best materials for pipe repair are:- Wood repair paste: ideal for restoring damaged or scratched wooden pipes.- Epoxy resin: perfect for sealing cracks or fissures in wooden or composite pipes.- Pipe fillers: available in different shades to match the pipe's color, great for hiding small defects.- Sandpaper: useful for sanding the surface of damaged pipes before applying other materials.- Finishing oil: important for protecting and polishing the pipe after repair.Using the right materials will ensure an effective and long-lasting repair of your favorite pipes.
Guide to Pipe Briar Replacement
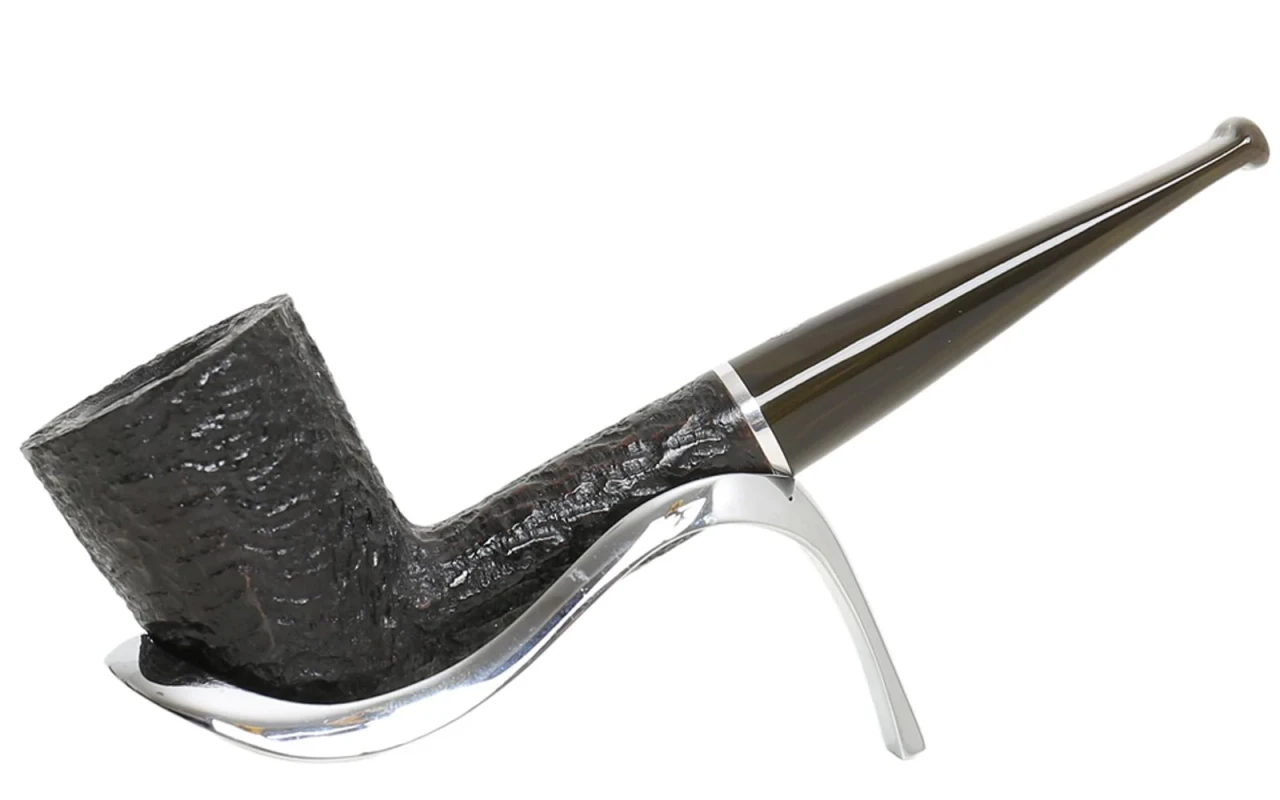
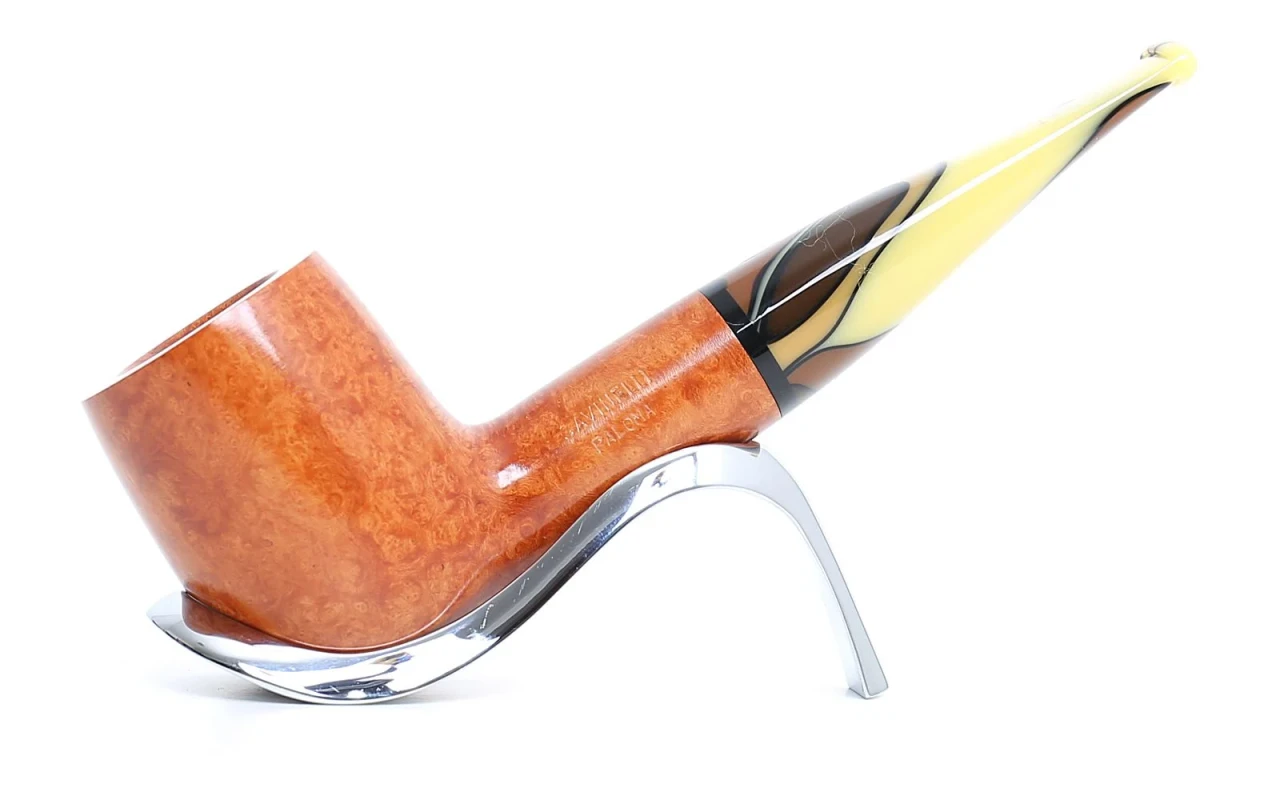
Replacing the briar of the pipe is an essential operation to maintain your pipe in good condition and ensure an optimal smoking experience. Here is a practical guide for replacing the briar of your pipe:1. Carefully remove the old briar using a specific tool.2. Thoroughly clean the inside of the pipe to remove residues and impurities.3. Measure the new briar accurately to ensure a perfect fit for the pipe.4. Apply a small amount of briar glue to the new briar and insert it into the pipe.5. Allow the glue to dry completely before using the pipe again.By carefully following these steps, you can effectively and safely replace the briar of your pipe.


