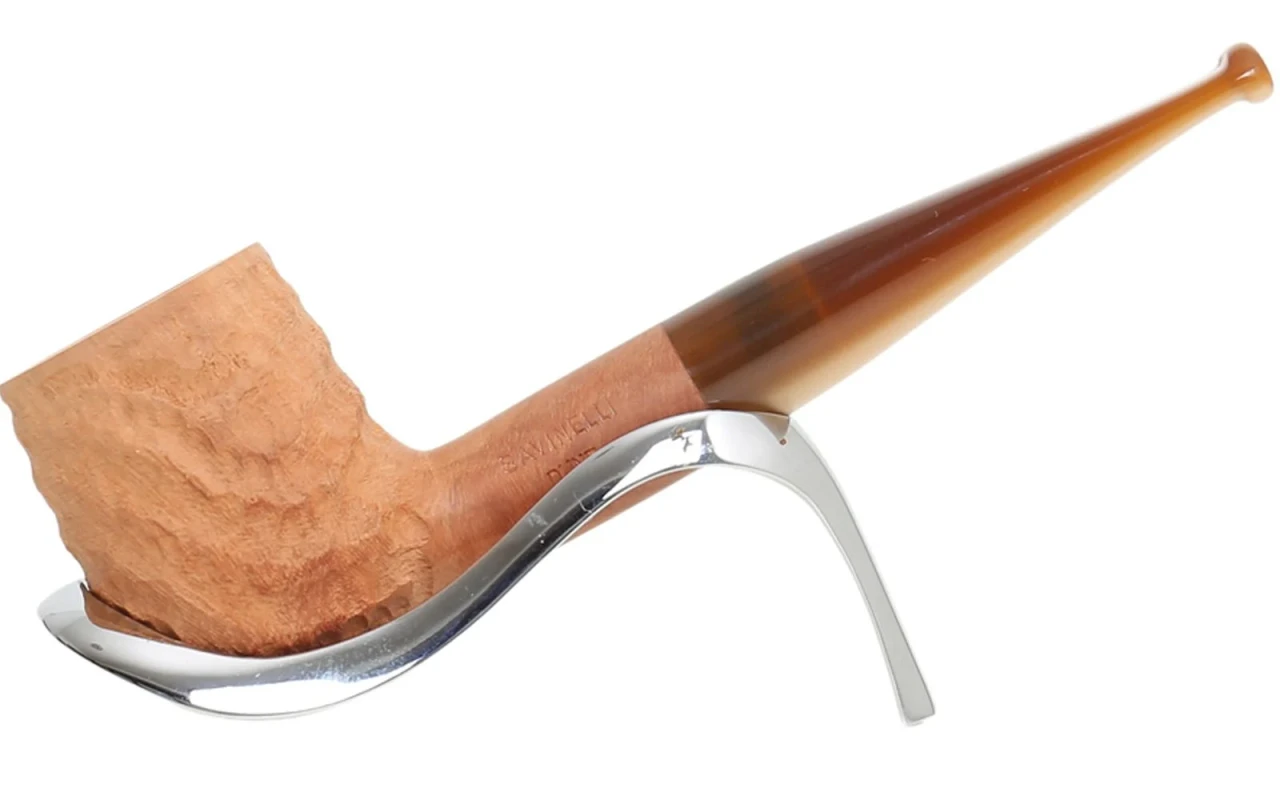
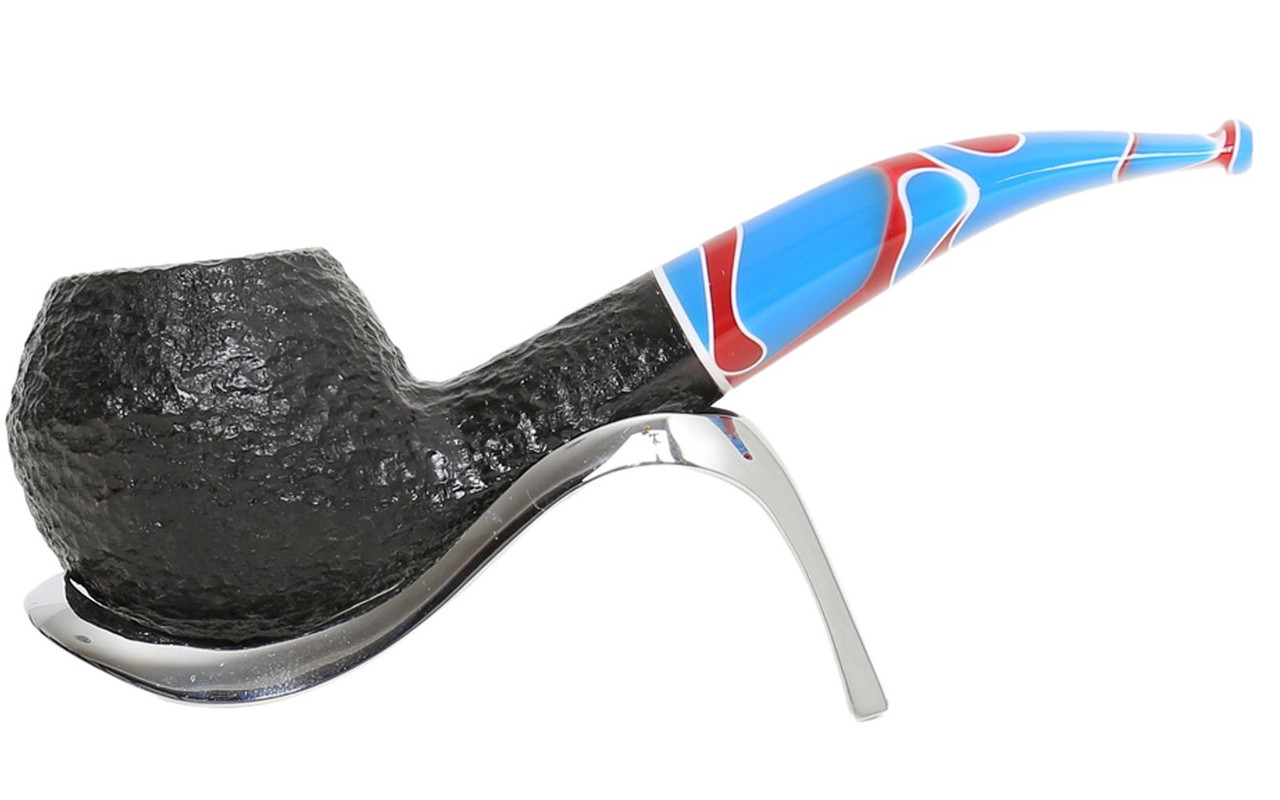
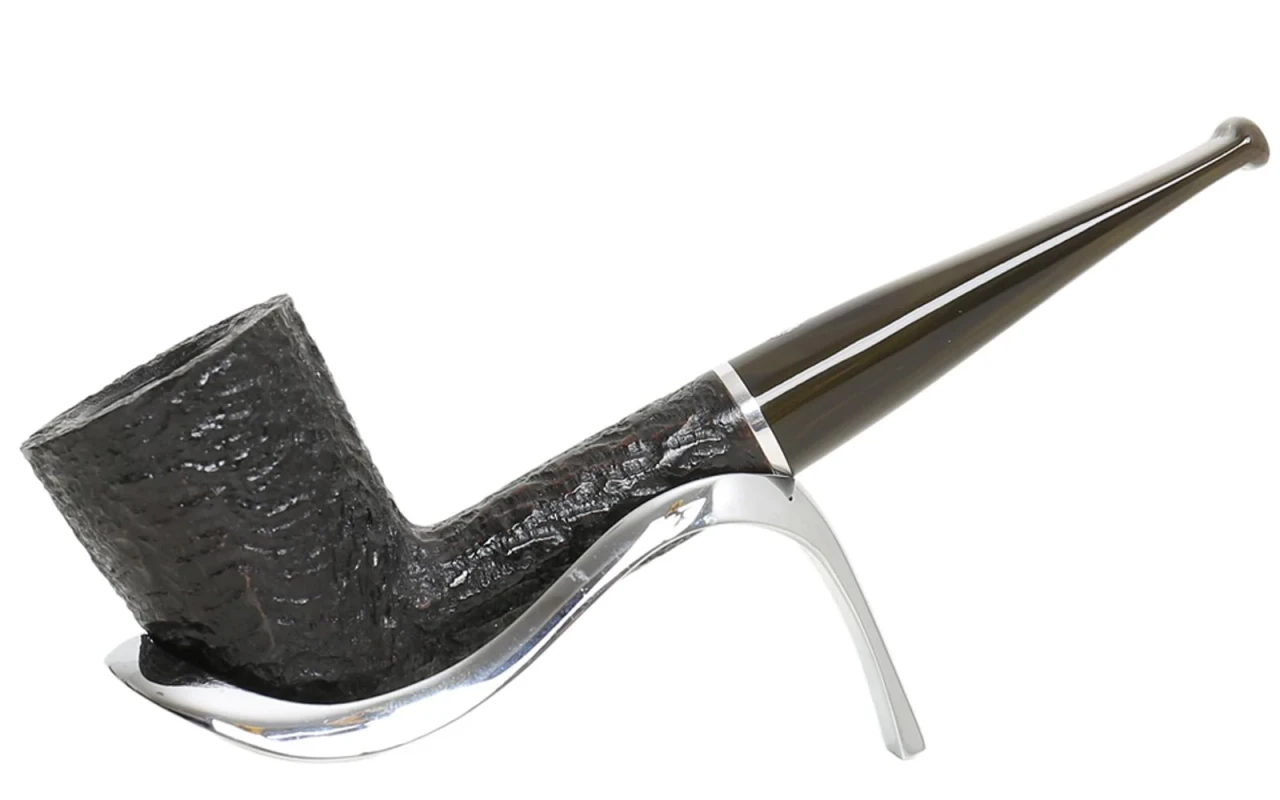
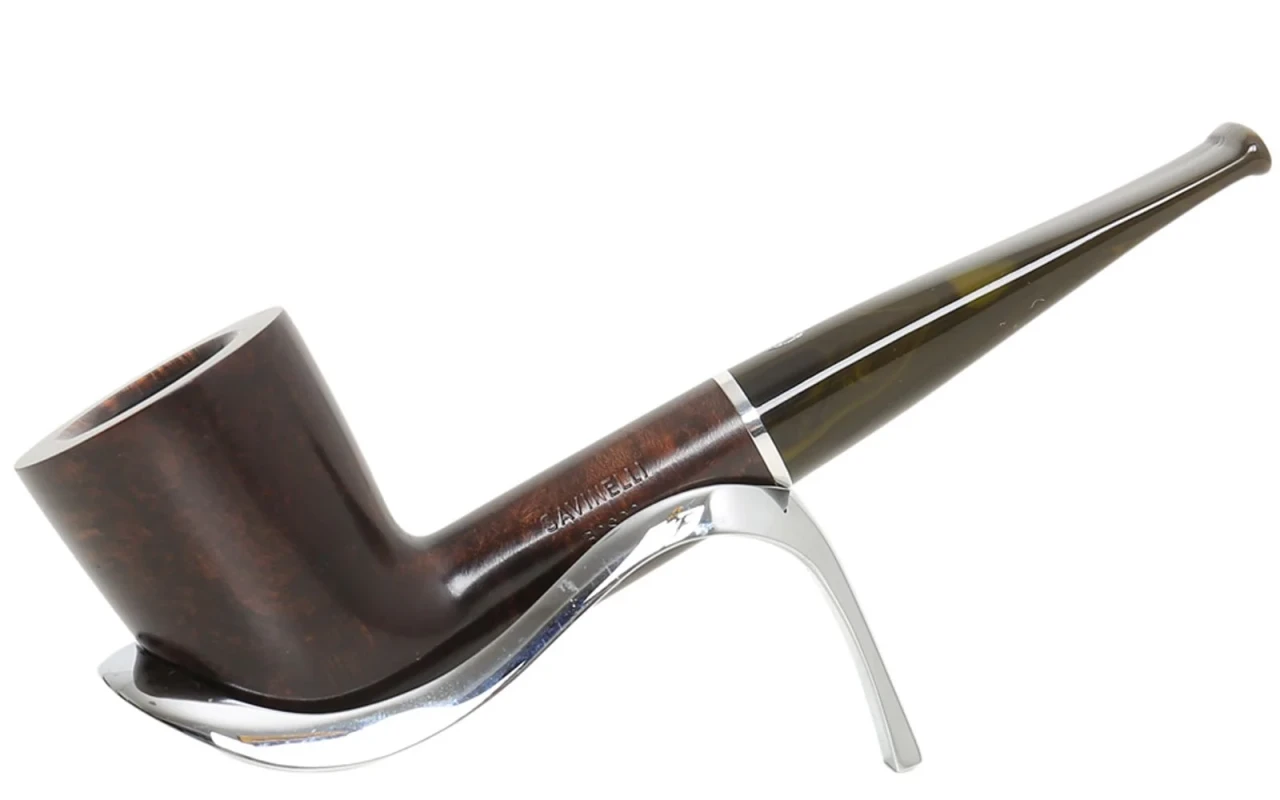
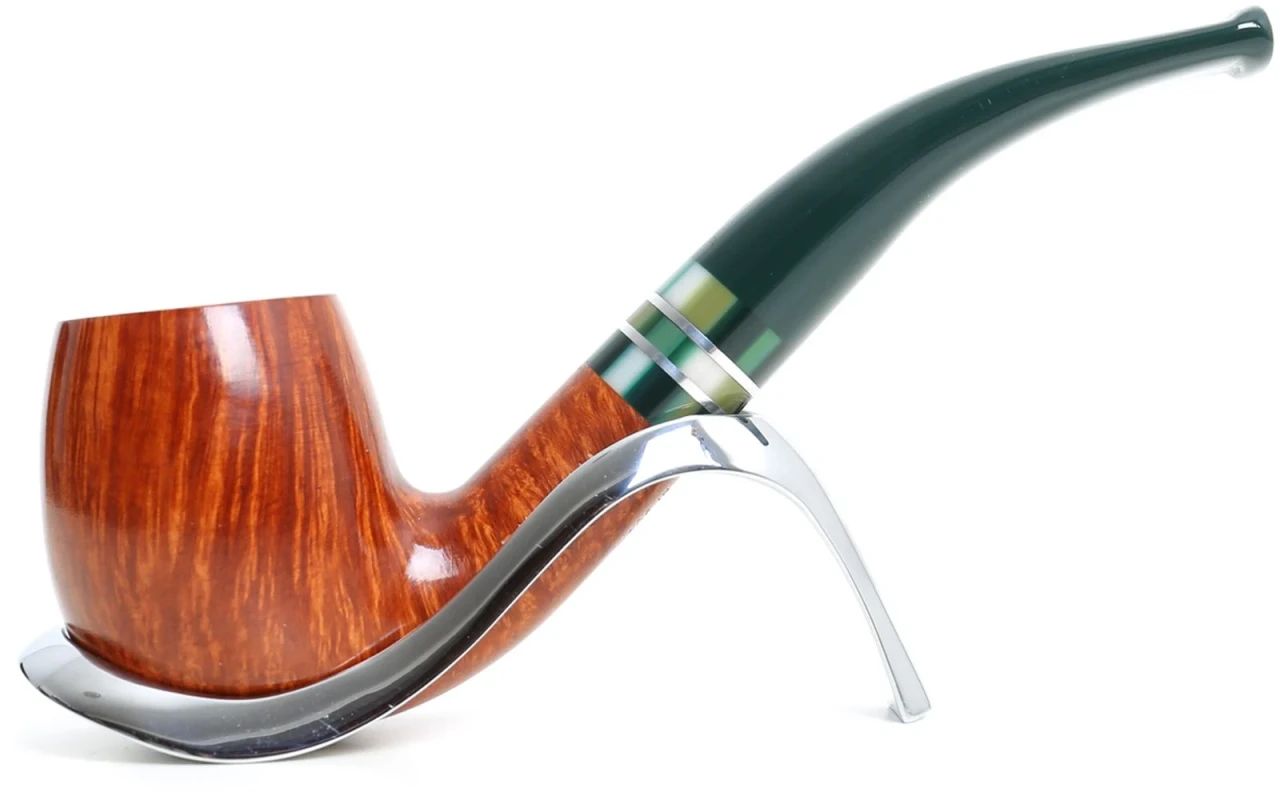
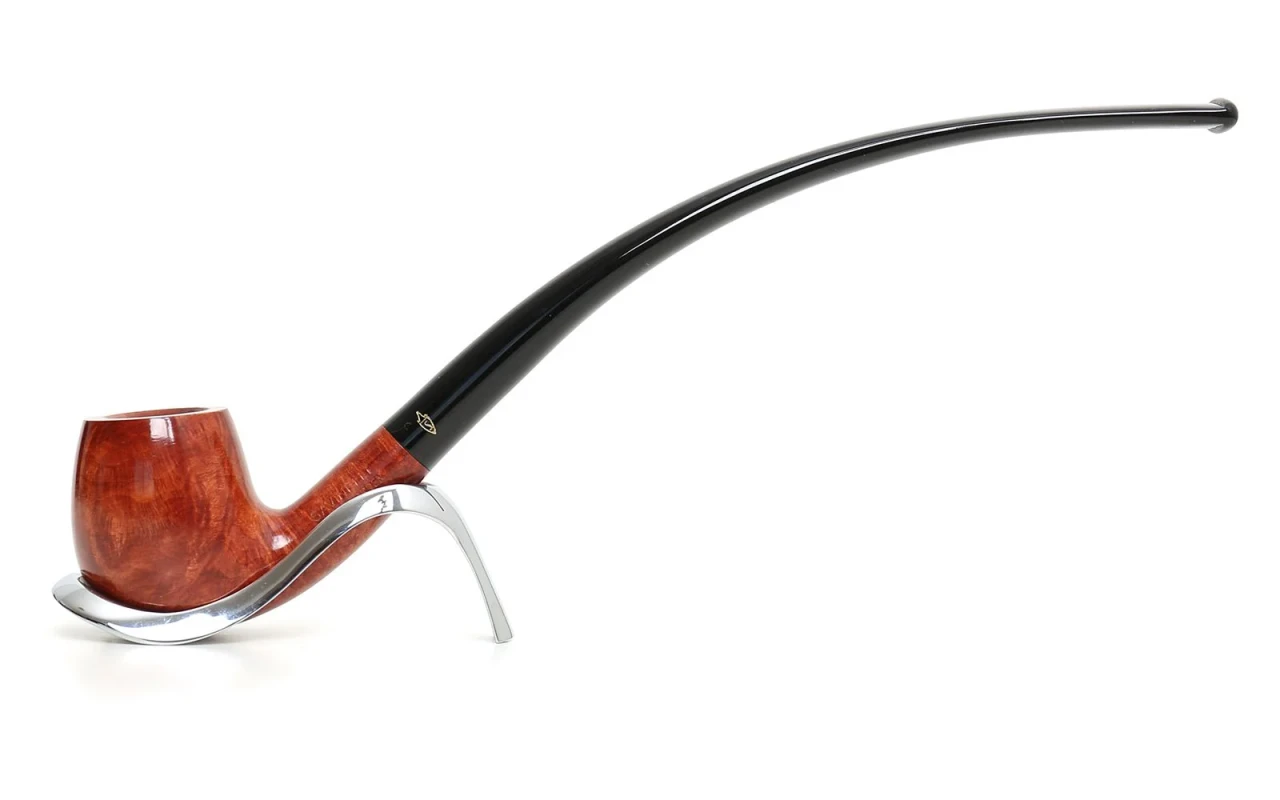
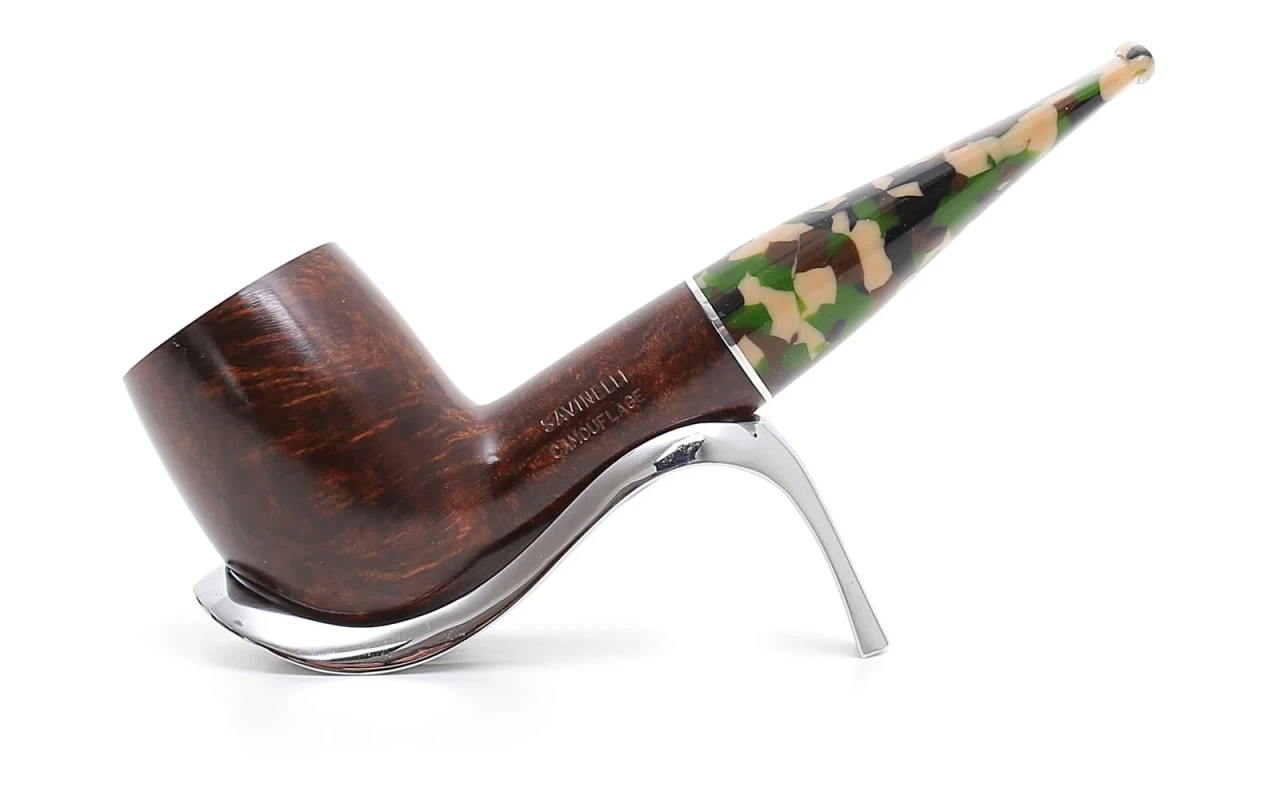
To prepare a pipe for coloring, you start with a thorough sanding of the surface to remove imperfections and porosity. Next, the wood is cleaned meticulously to eliminate dust and residues, ensuring an even base. Only after these steps is the desired color or finish applied.
How is a pipe prepared for coloring? Deep dive
Preparing the pipe for coloring is a crucial step to achieve a high-quality and lasting aesthetic result. Initially, the pipe’s wood undergoes precise sanding, using progressively finer abrasive papers to eliminate any imperfections, scratches, or surface porosity. This step ensures a smooth and uniform surface, essential for good color adhesion. After sanding, the pipe is carefully cleaned to remove dust, oils, or residues that could compromise the finish. Cleaning may be done with soft cloths or compressed air, avoiding aggressive solvents that might damage the wood. Only at this point is the chosen coloration or treatment applied, which can vary depending on the type of desired finish, such as varnishes, oils, or waxes. Accurate preparation guarantees that the coloring spreads evenly, enhancing the wood grain and protecting the pipe over time.